Turn your garden into an oasis with this step-by-step landscaping guide
A beautiful garden is not only an attractive feature when you are trying to sell your property, it also provides the perfect setting for reducing stress and improving your mental well-being. So many people move into a new home and simply maintain the garden in the style of the previous owner. With this step-by-step landscaping guide, you can transform your garden into an escape from the chaos of life and, at the same time, increase the value of your property.
Step 1: Live in the house for a few months before starting work on the garden
It takes a few months of living in a house before you start realising that you would prefer a wooden deck at the back because your dogs keep walking mud in the house, or the washing line is overshadowed by a tree giving too little sunlight to dry your laundry. Take this time to assess what works for you and what you would prefer to change to match your lifestyle.
Step 2: Choose a garden style
There are so many different styles to choose from, classic, rustic, oriental, Japanese, Mediterranean, functional, tropical, coastal and so on. Once you’ve decided on the style you can start researching examples and getting a list together of the types of plants and trees you will use to create your garden. It’s also good to research how to look after those plants, how big they will grow and the conditions they will need to thrive.
Step 3: Clear your canvas
Before you start working on your garden, make sure you are starting this project in the right season for the plants you have chosen for your masterpiece. Now you can clear your canvas by removing any plants or trees that you don’t want or that won’t fit into your chosen style. This is also a good time to see if any trees or plants have been planted too close to your walls or home, which could cause damage at a later stage. Or, if trees have been planted in a way that blocks the sunlight from flooding into your home.
Step 4: Check your grading, irrigation and drainage
Now you can grade your garden where it is uneven, check that your irrigation covers all the necessary spots and make sure you have enough drainage. Without good drainage you won’t be able to get rid of excess water during the rainy season. You may need professional help with this step.
Step 5: Add compost to your soil
Nutrients drain out of soil over long periods of time. By adding good quality compost to your soil, you are giving your new plants the best chance of surviving.
Step 6: Add new grass where necessary
Now you can lay new lawn sods in the sections that you may prefer to have covered and remove grass where you have chosen to start new garden beds or add a vegetable garden.
Step 7: Plant your start performers
These are the plants or trees that will take a focal point in your garden, for example a Japanese Maple tree, aloes or cycads. They are usually hardy plants or trees that will keep your garden beautiful all year round.
Step 8: Fill in with your chosen plants
Next you can plant all your medium-sized plants, making sure they are placed in enough sunlight or shade to help them thrive.
Step 9: Fill in the gaps
At this stage of the project you can plant all your smaller plants and ground covers to fill in the gaps. Remember that these plants will still grow so they don’t need to be planted on top of each other.
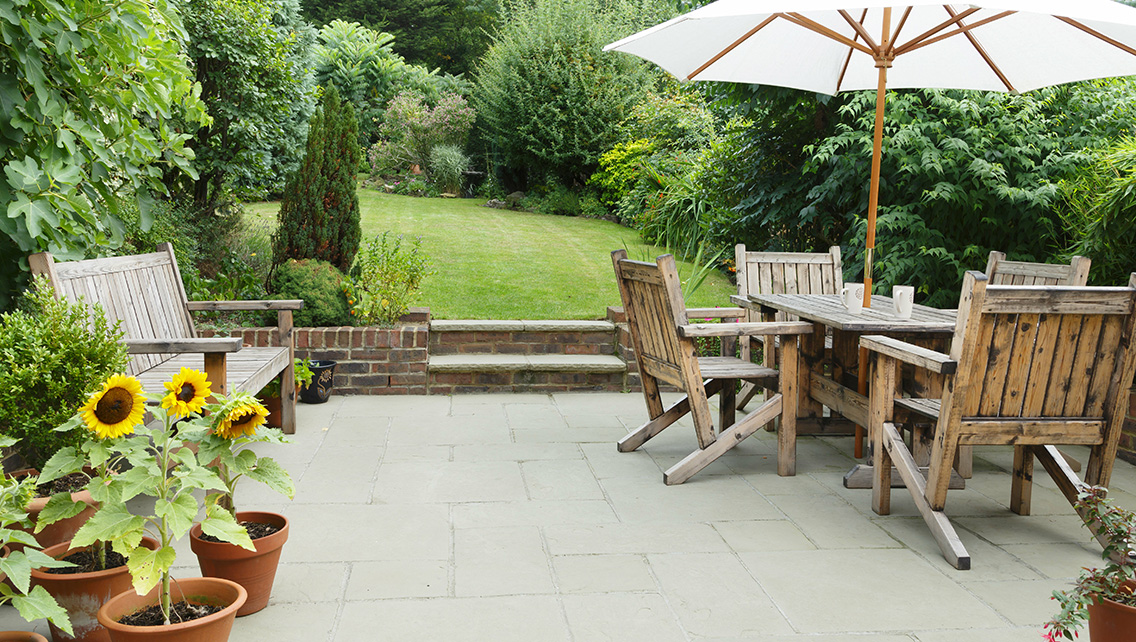
Step 10: Add the finishing touches
The final step of your landscaping project is to add your ornaments and garden furniture. Whether it’s bird baths or tree hangings, benches or garden lights, these finishing touches will act like a frame on a beautiful picture.
Now that you have transformed your garden into a mini paradise with this step-by-step landscaping guide, it’s time to relax and enjoy the fruits of your hard work with your family.
Related articles
Homebuyers guide
How much can you afford?
Your dream home is closer than you think. Make your budget work with the help of our range of calculators
Follow us


